Creating a Project
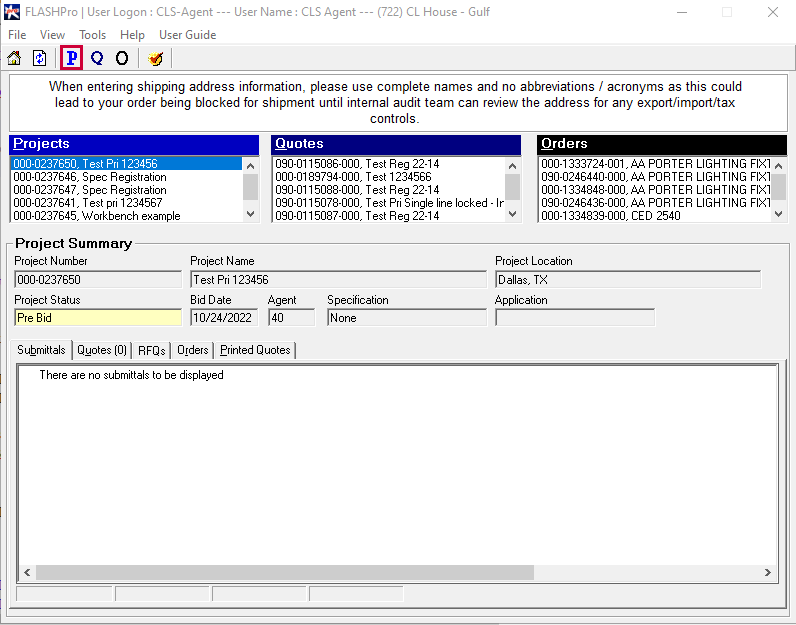
Step 1: On the Homepage, click the 'P' icon.
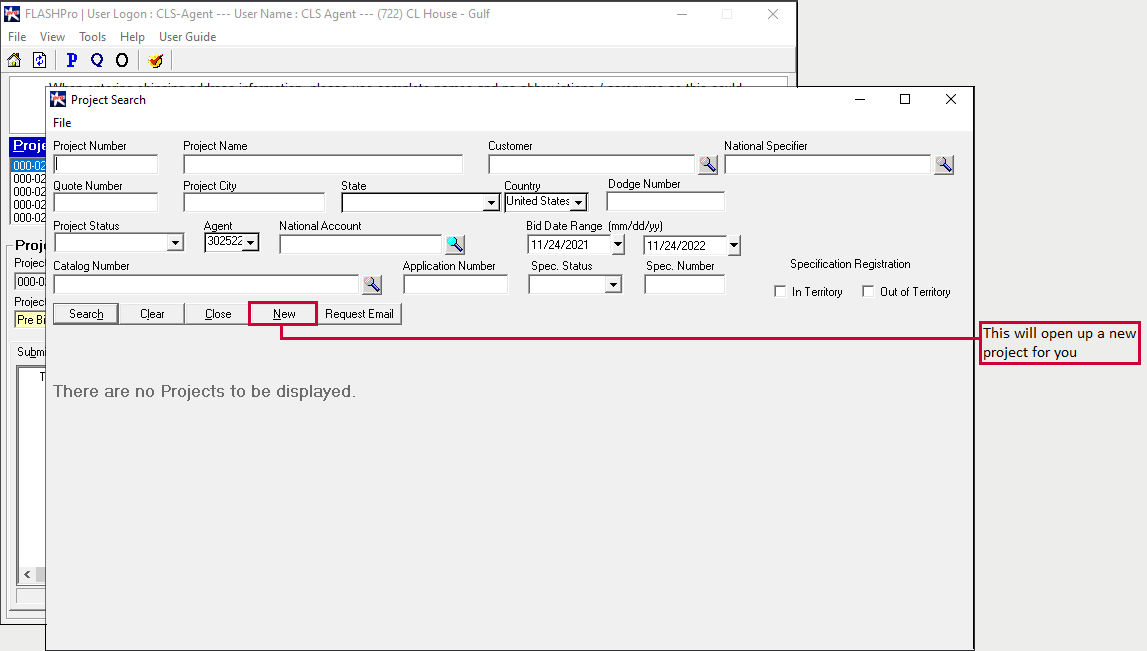
Step 2: Click on 'New' in the project search screen.
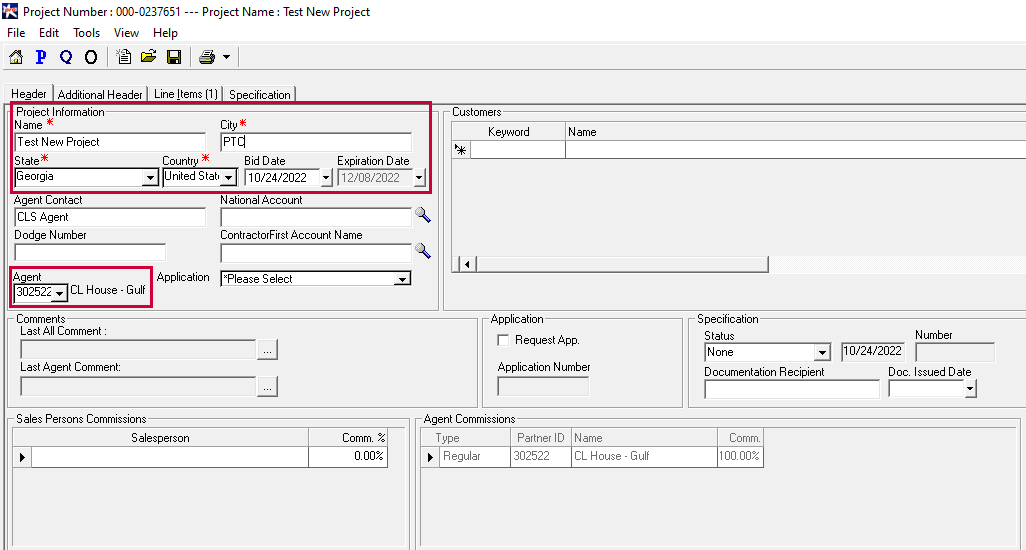
Step 3: Your new Project is open, but before heading over to the line items, be sure to fill in the header details. You need this
because Flash expects these details when you try to save your project. The required details are marked as * but it's been listed out below
anyway:
- Put in a project name: It can be anything you want (It can be as simple as ABCD.)
- Enter the city, state, and country: The state will have a drop down and the country will be auto filled, usually.
- If you are logged in as a Cooper user, you will have to pick an agent from the agent drop down. If you have used the agent login,
your agent ID will already be set. However, as an agent you might be able to select a different agent if, and only if, that agent is linked
to your agent ID.
Step 4: Click on Save (because we still save on floppy disks, apparently.)
Step 5:Feel free to go into your line items tab to enter a line item. Keep in mind that you don't need to have any products or
pricing in Projects - you can add the BOM after converting it to a quote.
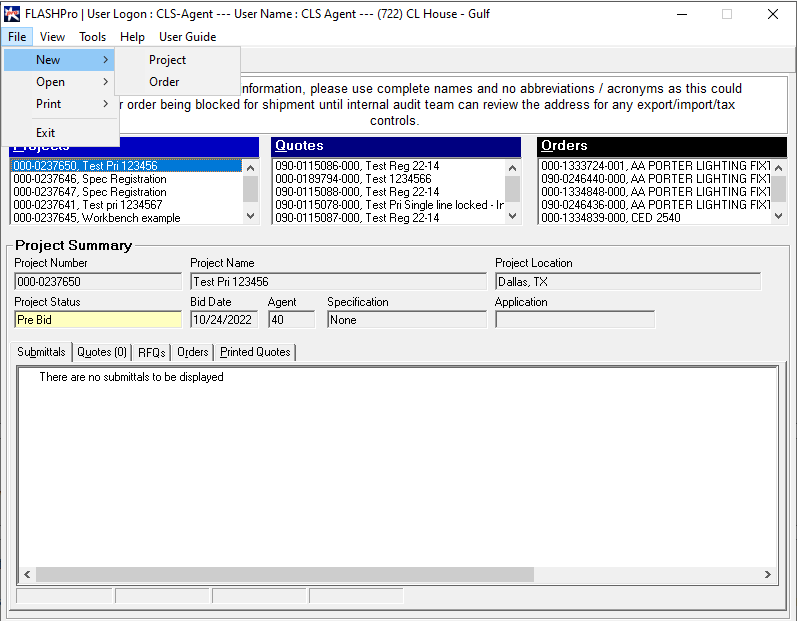
From here, we generate a quote.
Generating a Quote
Keep in mind that there are two ways to generate a quote:
- From the Project Header
- From the P&A screen.
For the sake of simplicity, this section will only cover generating quotes from a Project.
Step 1: Go back to the Project Header
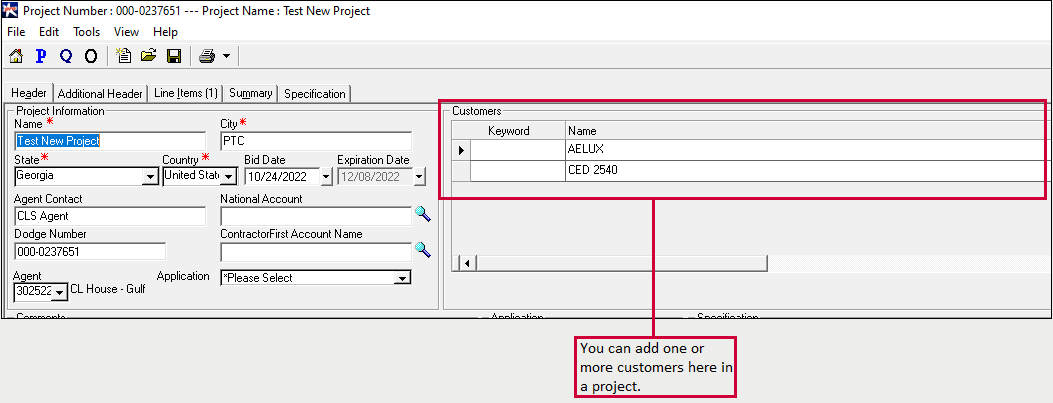
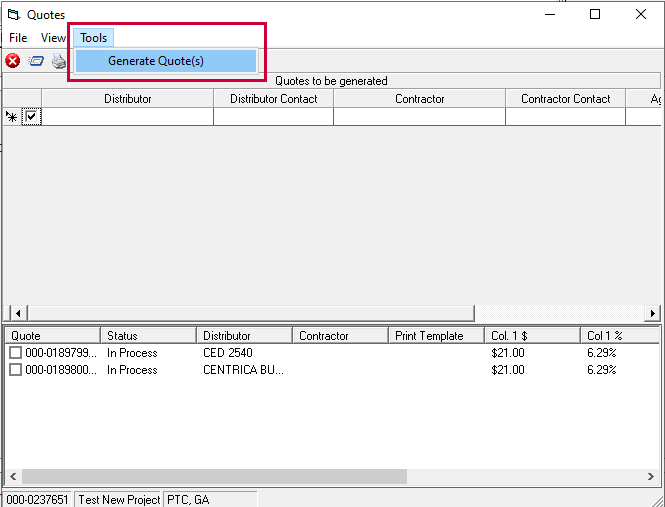
Step 2: Click the Generate Quote button in the Project Header. You will see the below a pop up that allows you to generate a quote.
Keep in mind that, every quote can have no customers OR only a single customer/distributor. If a project has multiple customers, a quote can be generated for each customer. So,
your project has two customers, then you can generate two quotes.
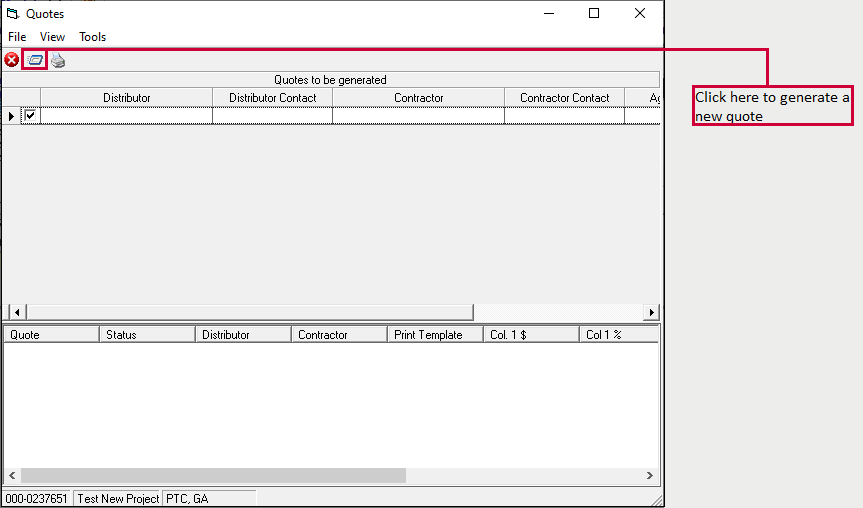
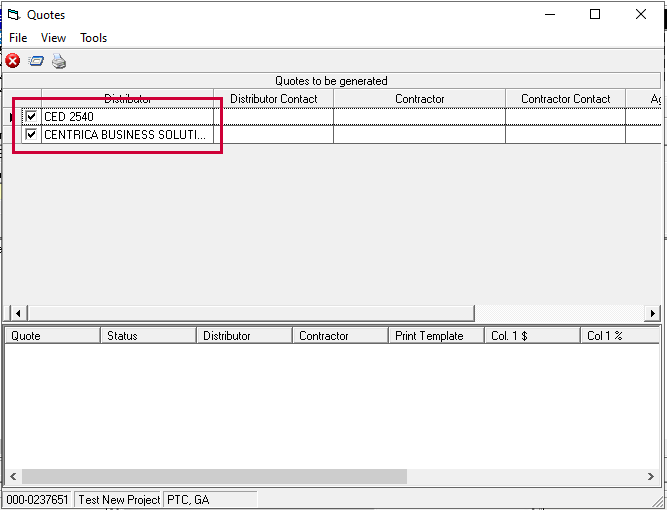
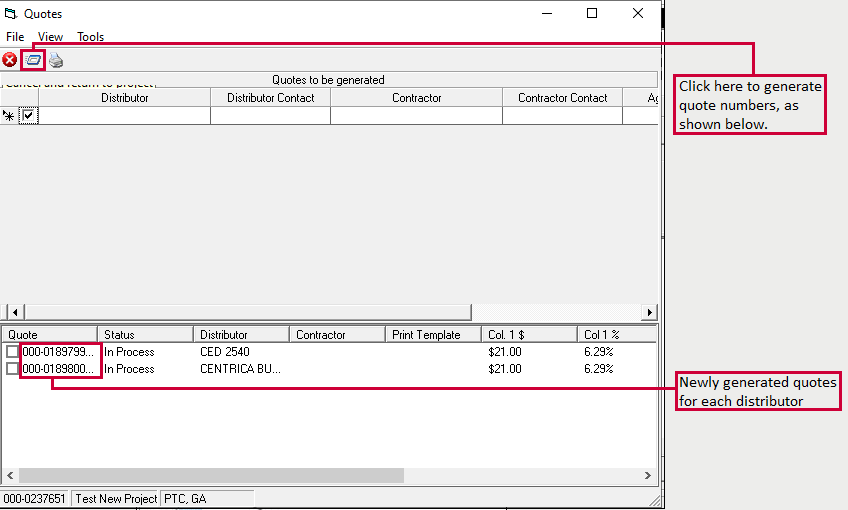
In the pop up below, you can choose the distributor for whom you want to generate a quote. You see the little check box next to the Distributor name? You can
uncheck it if you don't want to generate a quote for that specific distributor.
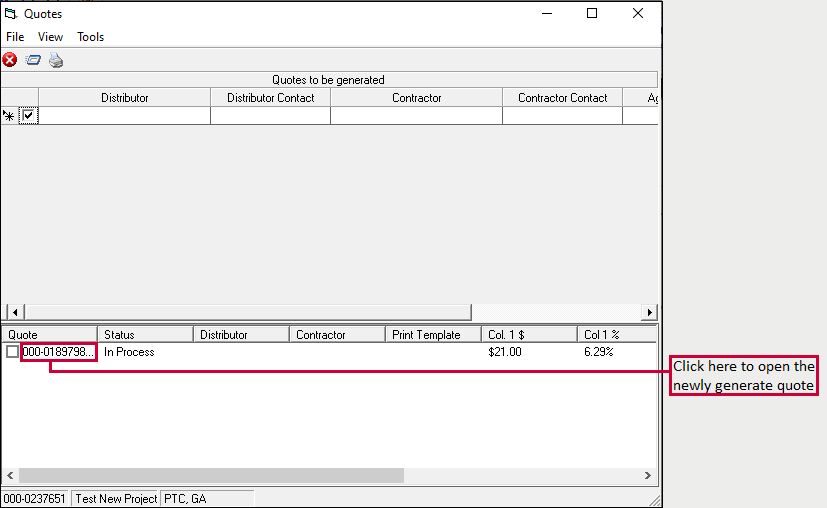
Step 3: Click on the Generate Quote icon. It's the second icon at the top of the screen.The quotes are generated in the second half of
the screen. You can click on the quote which you want to open.
Step 4: Go to the line items tab and add your items. Keep in mind that if you have added any line items in Projects, those lines will
get carried over to your quote.
Step 5:A new quote will appear on the screen. Enter the line items in the 'Line Items' tab and save.
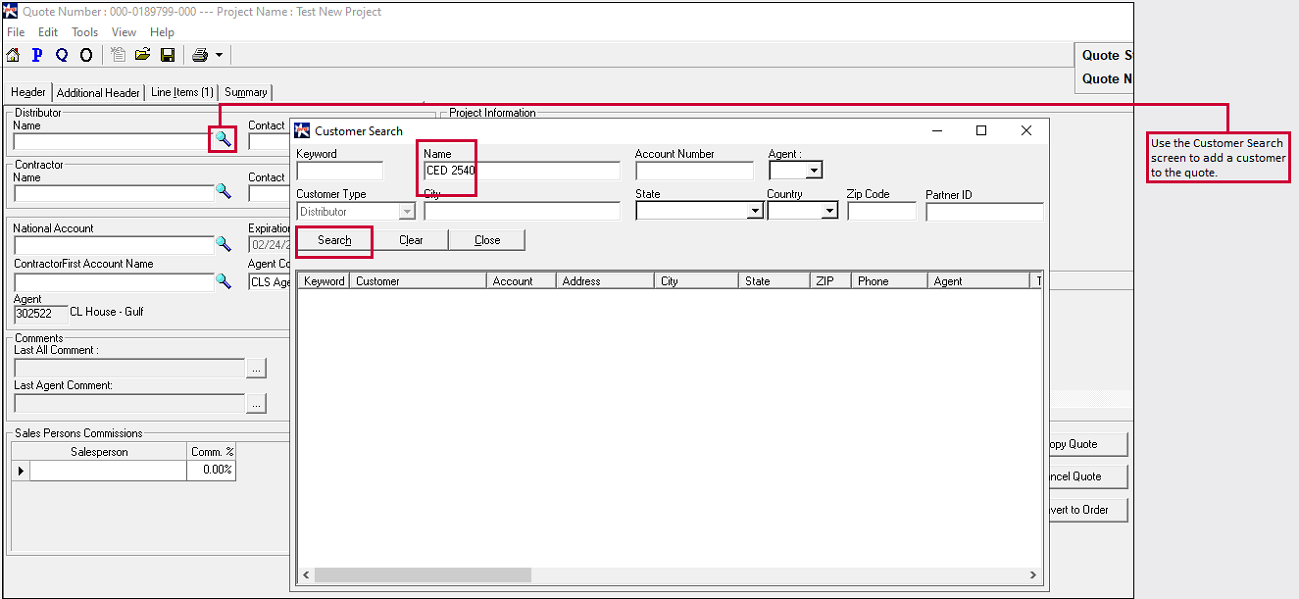
Step 6:If your quote doesn't have a customer, you can add one under the 'Header' tab.
Once you have entered all the details, you can "Request Review" or convert the quote to an order.