Spec Registration
All agents are assigned a specific territory in which they may pursue sales opportunities (Quotes and
Orders). However, there are instances where an Agent has built and cultivated a relationship with an Influencer
(Architect, Design Engineer, Lighting Designer, etc.) inside of their territory - for an opportunity that is
located outside of the their territory. When this occurs, the commission is shared (or split) among the Regular
Agent and the Specifying Agent.
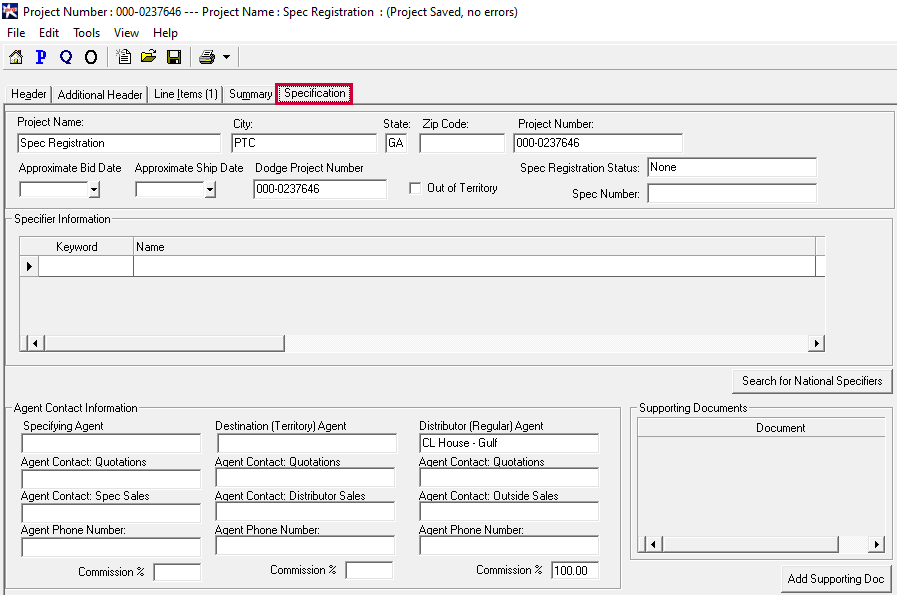
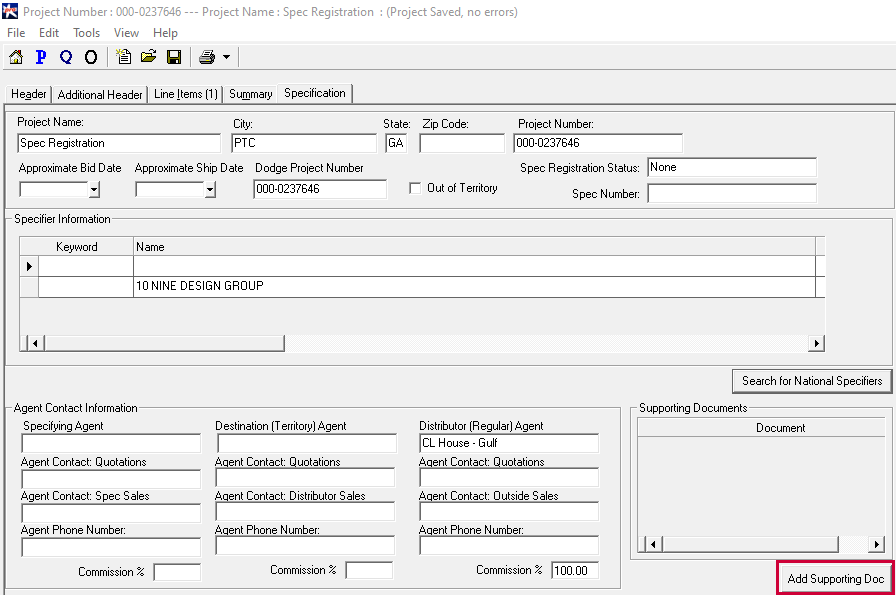
Step 1: Open a Project, and go to the 'Specifications' tab.
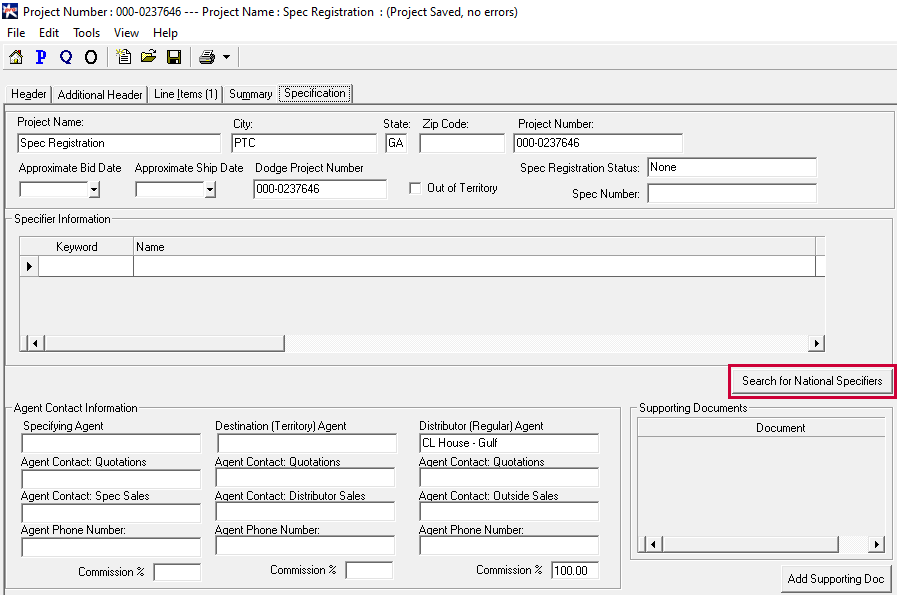
Step 2: Click on the 'Search for National Specifier' button.
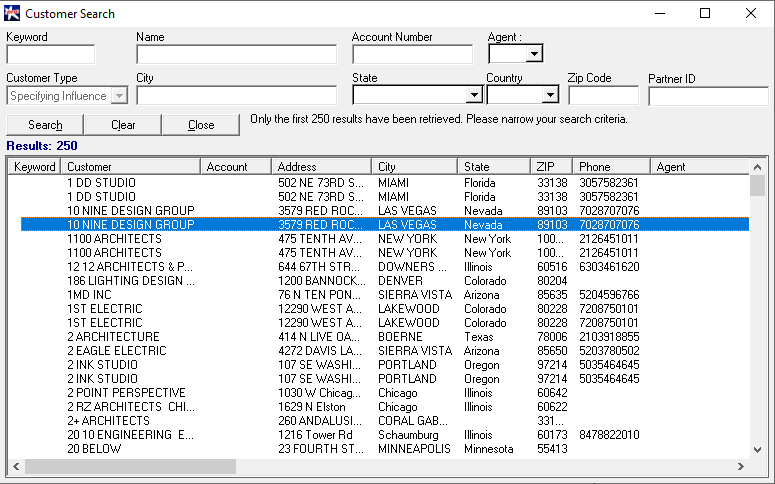
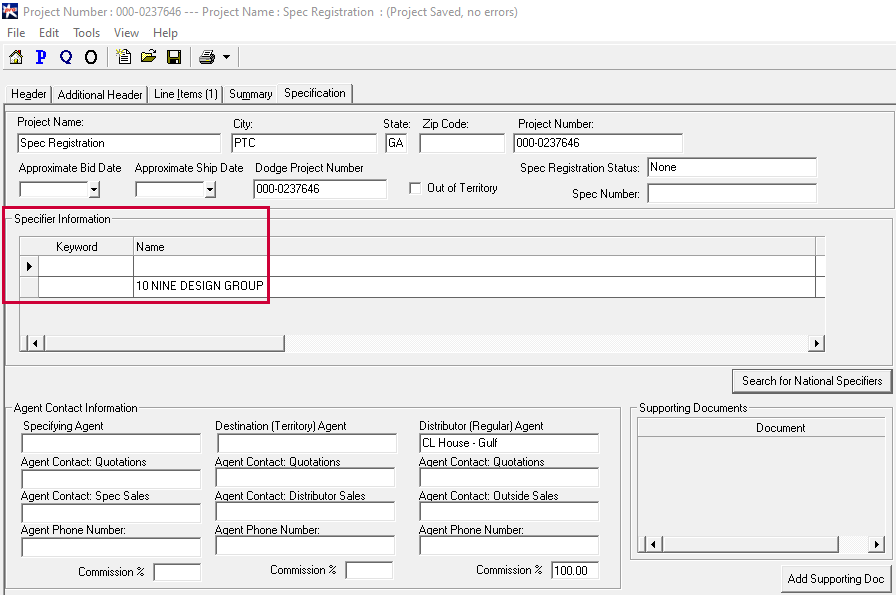
Step 3: Select the specifying customer from the customer search box
Step 4: Click on 'Add Supporting Doc'
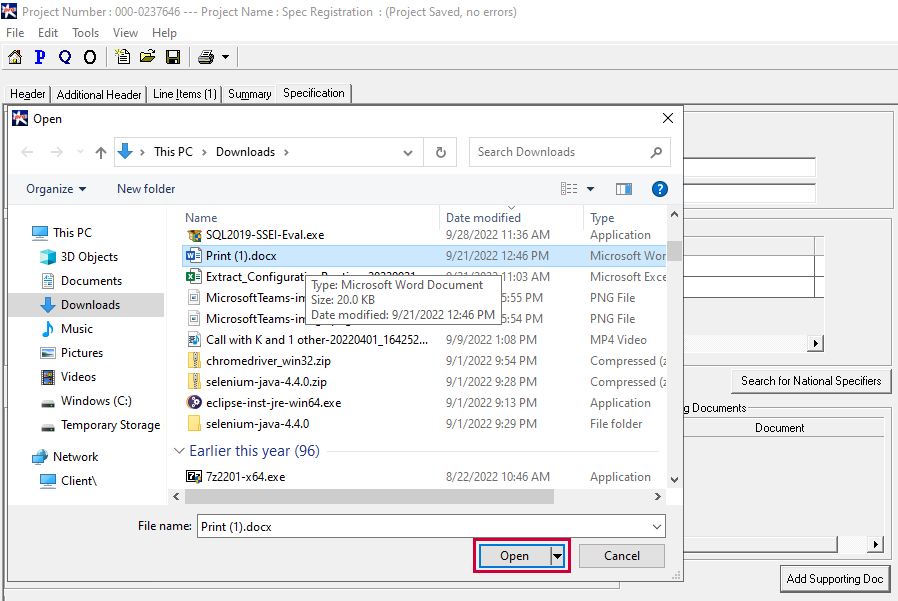
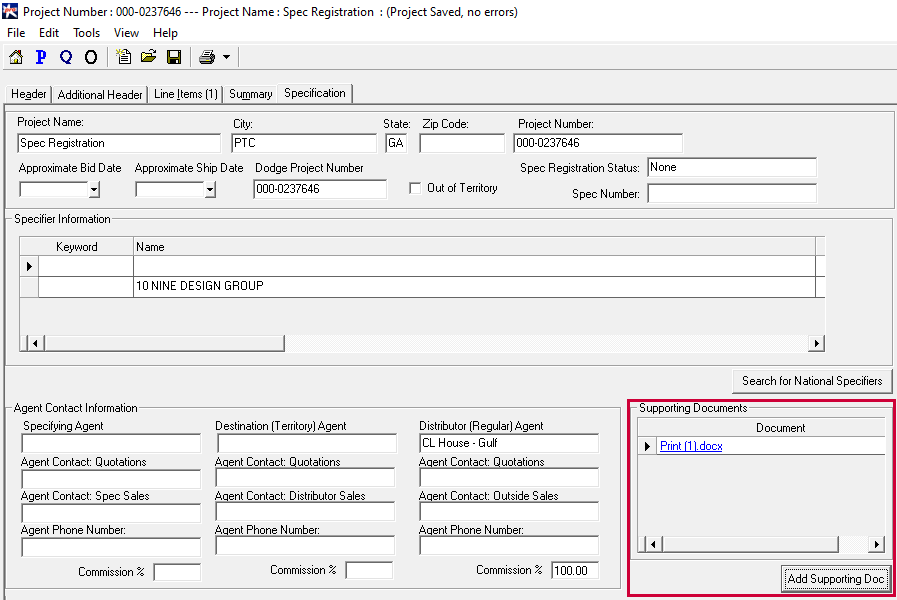
Step 5: Select the supporting document from your PC and upload it into the document. You can upload more than one document to the projects, of course.
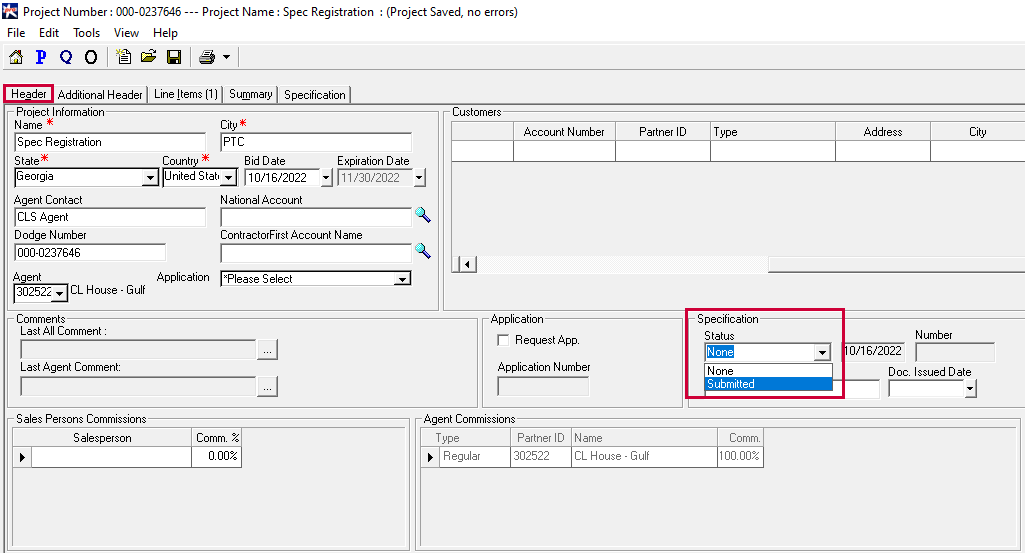
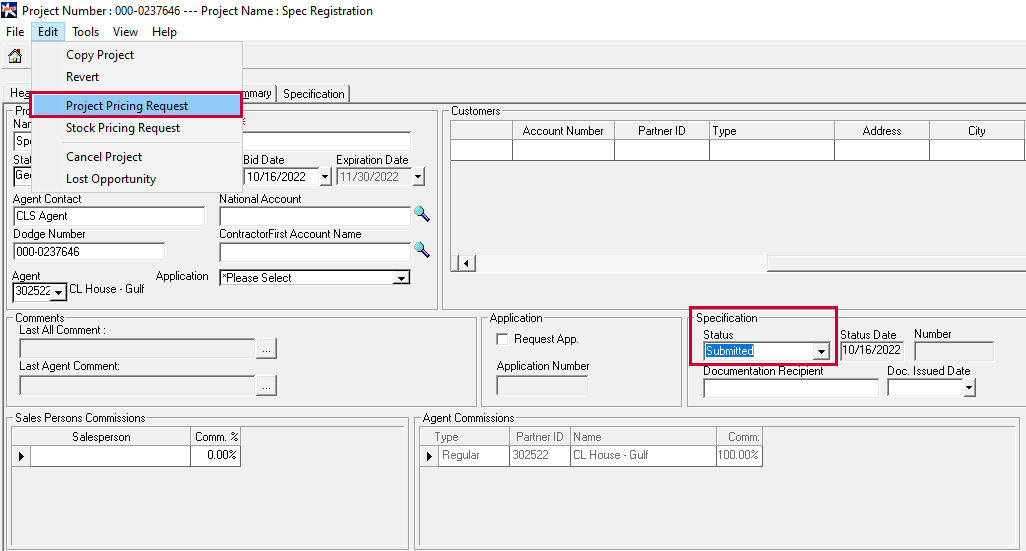
Step 6: Go back to the Header tab and change the status of the Spec Registration from 'None' to 'Submitted'.
Step 7: Go to 'Edit' and select 'Project Pricing Request'. The Spec Submissions will then be reviewed and approved by CLS.
Once the Specifications Have Been Returned and Reviewed.
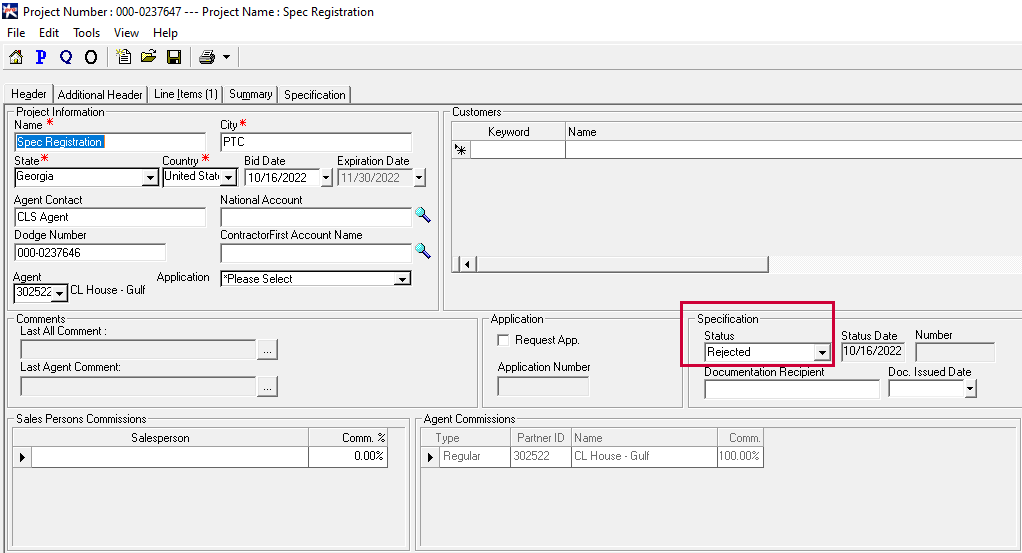
Your Spec Submission may either be 'Registered' or 'Rejected'. This will be reflected in the 'Spec Status' in
both the 'Header' and 'Project Summary' tabs.
Spec Status: Rejected
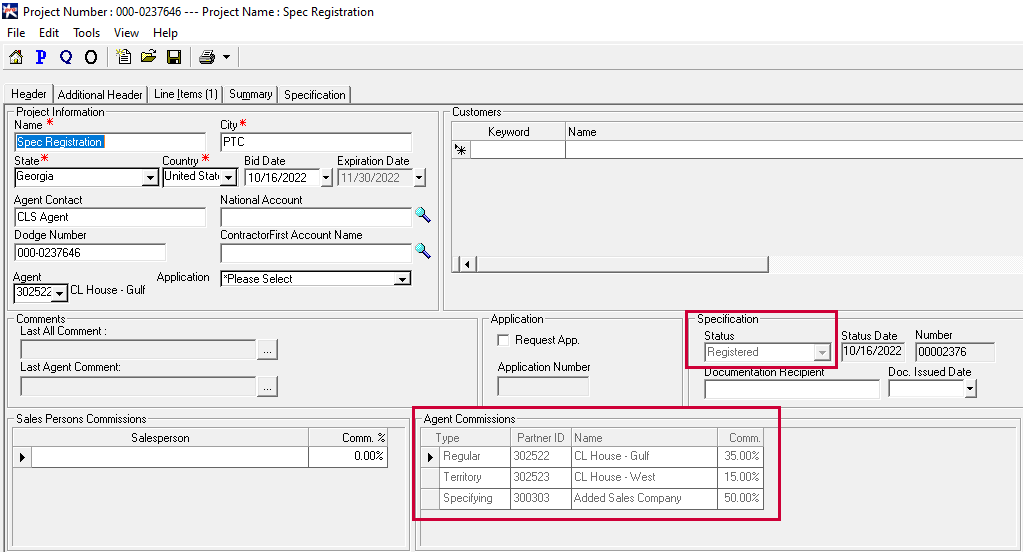
Spec Status: Registered
In the project, under the header tab, you will notice that the Spec Status is now 'Registered.' Additionally,
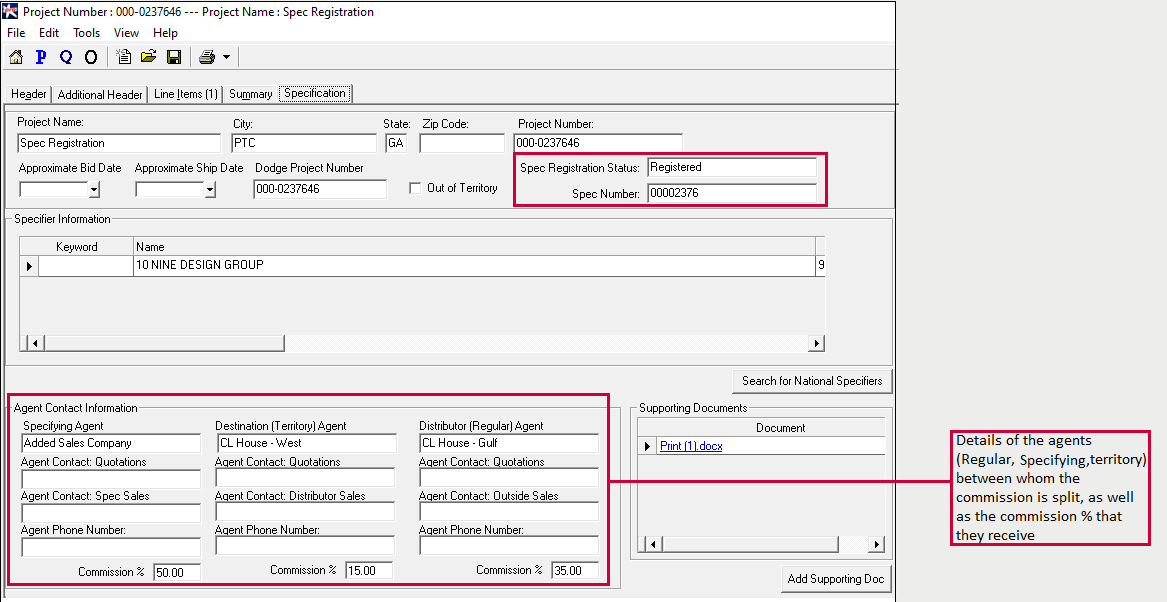
there are now three commissionable agents - Regular, Specifying and Territory.
You will also notice that the details have been updated under the 'Specification' tab as well.